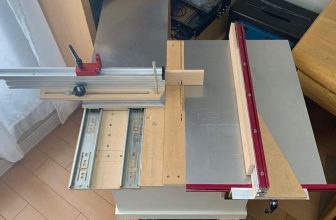
A hybrid table saw is a versatile woodworking tool that can be used to make a variety of cuts, including crosscuts, rip cuts, and miter cuts. While a miter saw is the best tool for making precise miter cuts, to cut 45 degree angle table saw is also a good option, provided you have a miter gauge or sled. In this article, we’ll show you how to cut a 45-degree angle using a table saw.
Contents
Can a Table Saw Cut Angles?
There is no definitive answer to this question as it depends on the specific table saw in question. However, most table saws are capable of cutting a variety of angles, depending on the adjustments that have been made. In order to cut a specific angle, the user must first determine the blade height and then set the angle on the miter gauge or fence.
What Do You Need For This?
If you’re looking to make precise cuts at a 45-degree angle, then you’ll need a table saw. Here’s what else you’ll need to get the job done:
- A tape measure;
- A pencil;
- A speed square or a bevel gauge;
- A push stick;
- And, of course, table saw itself.
Cutting 45 Degree Angle On Table Saw: Step-by-Step Instruction
When you need to make a 45-degree cut on your table saw, the process is a little different than a straight cut. Here is a step-by-step guide on how to do it.
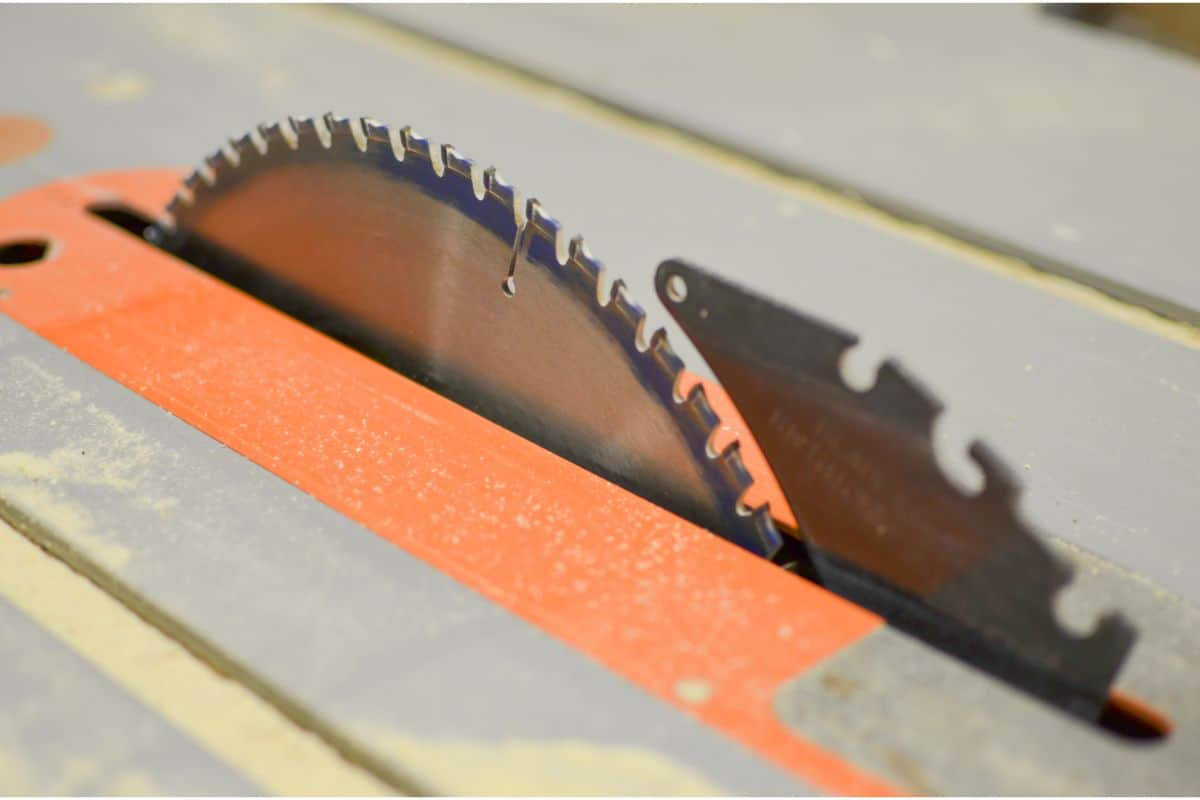
Step 1. First, you need to set the blade angle to 45 degrees. There are a few ways to do this, but the most common is to use the bevel gauge. This is a small, triangular tool that is attached to the saw table. The bevel gauge has a small arm that extends from it, and this arm has a scale on it that indicates the angle of the blade.
To set the bevel gauge, first loosen the knob that holds it in place. Then, align the triangle with the blade and slide the gauge until the arm touches the blade. Finally, tighten the knob to secure it in place.
Step 2. Next, you need to adjust the height of the blade. This is done by adjusting the height adjustment lever. The lever is located on the front of the saw, and it is used to raise and lower the blade.
To adjust the height of the blade, first loosen the locking lever. Then, move the lever up or down to the desired position. Finally, tighten the locking lever to secure it in place.
Step 3. Once the blade is set to the desired angle and height, you can begin making your cut. To do this, first make sure that the workpiece is securely clamped to the saw table. Then, hold the workpiece against the fence and slowly lower the blade into it.
Step 4. Keep your hands and fingers clear of the blade at all times. Do not put your fingers near the blade while the saw is running, even if the blade is not moving.
Step 5. When the blade has reached the desired depth, slowly release the workpiece. Do not try to remove it while the blade is still spinning. Let the blade come to a complete stop before removing the workpiece.
Tips For Cutting Angles On Table Saw
Most woodworkers will agree that the table saw is one of the most versatile and essential tools in the shop. While it is possible to make many cuts without a table saw, such as rip cuts or cross cuts, the table saw really shines when it comes to making more difficult or intricate cuts, such as cutting a 45 degree angle with a table saw.
While the table saw can be an extremely useful tool, it is also one of the most dangerous. Every year there are many woodworkers who are seriously injured, or even killed, while using a table saw.
There are a few simple safety tips that every woodworker should follow when using a table saw, in order to avoid injury.
- First, always use a push stick when making any type of cut that requires the hand to be close to the blade. A push stick is a simple device that keeps your hands away from the blade while still allowing you to push the workpiece through the cut.
- Second, never stand directly in line with the blade. If the blade were to bind or kickback, you could be seriously injured. Always stand to the side of the blade, and use a fence if possible.
- Third, never try to stop the blade with your hand. If the blade is bound or kicking back, the best thing to do is to quickly turn off the power. Trying to stop the blade with your hand is almost guaranteed to result in serious injury.
- Fourth, always use a sharp blade. A dull blade will not only make for a poor cut, but it is also more likely to bind or kickback.
- Finally, take your time and focus on what you are doing. Rushing through a cut is a sure way to make a mistake.
By following these simple safety tips, you can avoid becoming a statistic. Use your table saw safely and you will be able to enjoy it for many years to come.
FAQ
What is the difference between a miter cut and a bevel cut?
Miter cuts are made at a 45 degree angle to the grain of the wood, while bevel cuts are made at any angle other than 90 degrees. Bevel cuts are generally used for decorative purposes, while miter cuts are more functional.
Where do i position baseboards on table saw when making 45 degree angle cuts?
When making 45 degree angle cuts, you will need to position the baseboards so that the long side is against the fence. This will ensure that the cuts are made at the correct angle.
How do you cut a 4×4 degree at 45 degrees?
To cut a 4×4 at 45 degrees, you will need to use a miter saw. Set the saw to 45 degrees and make sure that the blade is lined up with the mark on the 4×4. Cut along the marked line and then sand the edges to finish.
Сonclusion
A table saw is one of the most versatile and essential tools in a woodworker’s arsenal. With the ability to make rip cuts, crosscuts, and angled cuts, the table saw can tackle just about any woodworking job.
One of the most common angled cuts that a table saw can make is a table saw 45 degree cut. While this may seem like a daunting task, it is actually quite simple once you know the steps.
Also read:
References
- Speed Square As a Miter Gauge for Your Table Saw Sled
https://www.instructables.com/Speed-Square-as-a-Miter-Gauge-for-your-Table-Saw-S/ - Bevel Gauge
https://www.bobvila.com/articles/1277-bevel-gauge/ - Woodworking Machines – Push Sticks
https://www.ccohs.ca/oshanswers/safety_haz/woodwork/push_stk.html


“A good tool stays with you for many years and choosing carefully ensures the job is done right, your work is neat, and the tool is always a pleasure to use”