How to Cut Baseboards With a Miter Saw Flawlessly
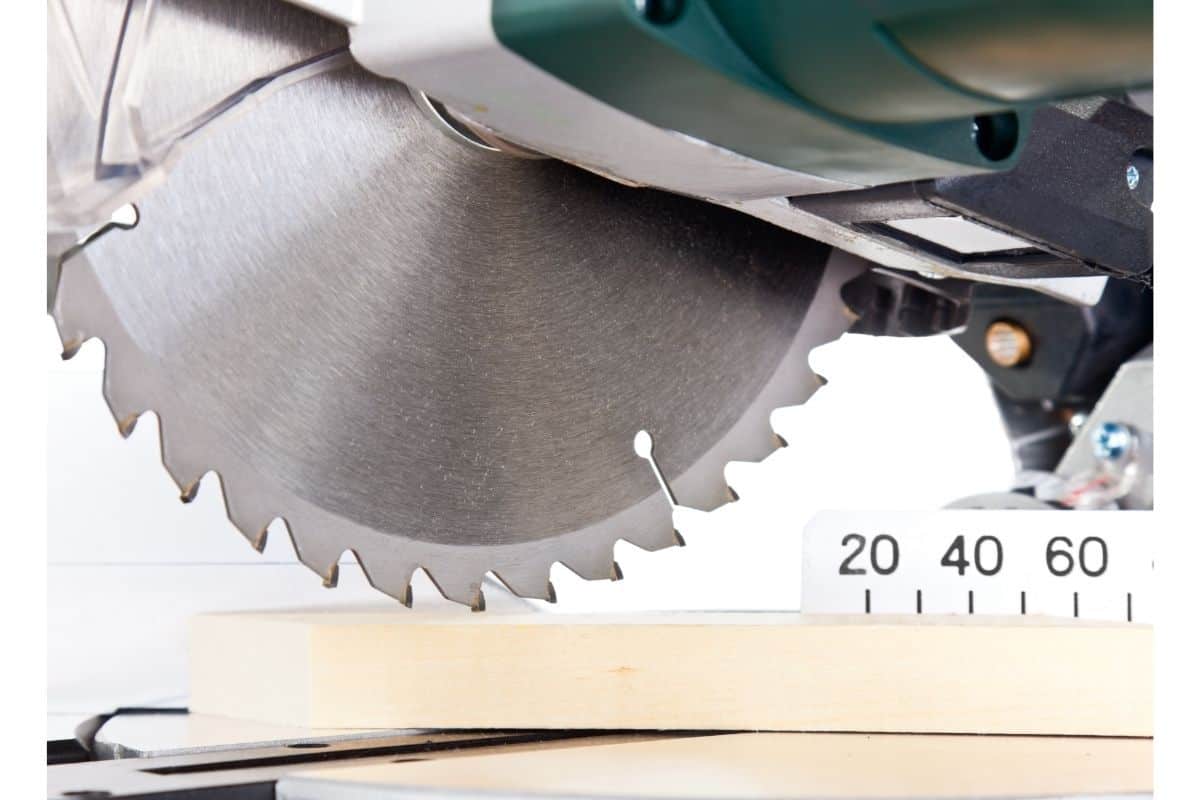
A miter saw is an ideal tool for cutting floor and crown moldings. Even better if you have a dual compound model; however, classic devices also do an excellent job. With this instrument, you can make straight and angled clean cuts and work with wood, plaster, PVC, polyurethane, and foam.
If you are new to using power tools, in this article, I will show you how to cut baseboards with a miter saw and what additional accessories you will need for it. With my guide, you can easily cope with this task.
Contents
Cutting Baseboards With Miter Saw Guide
Using a miter saw is the best way to cut baseboard overall. If you have the right tool, you only need to do the correct measurements and markings on a workpiece and make baseboard miter cuts depending on its position in the interior. Read more about the process below.
Preparation
Before you start cutting your boards, it is essential to conduct thorough preparation. If you have little experience with this type of saw, I recommend reading the instructions from a manufacturer once more. Understanding how a tool works is the key to your safety.
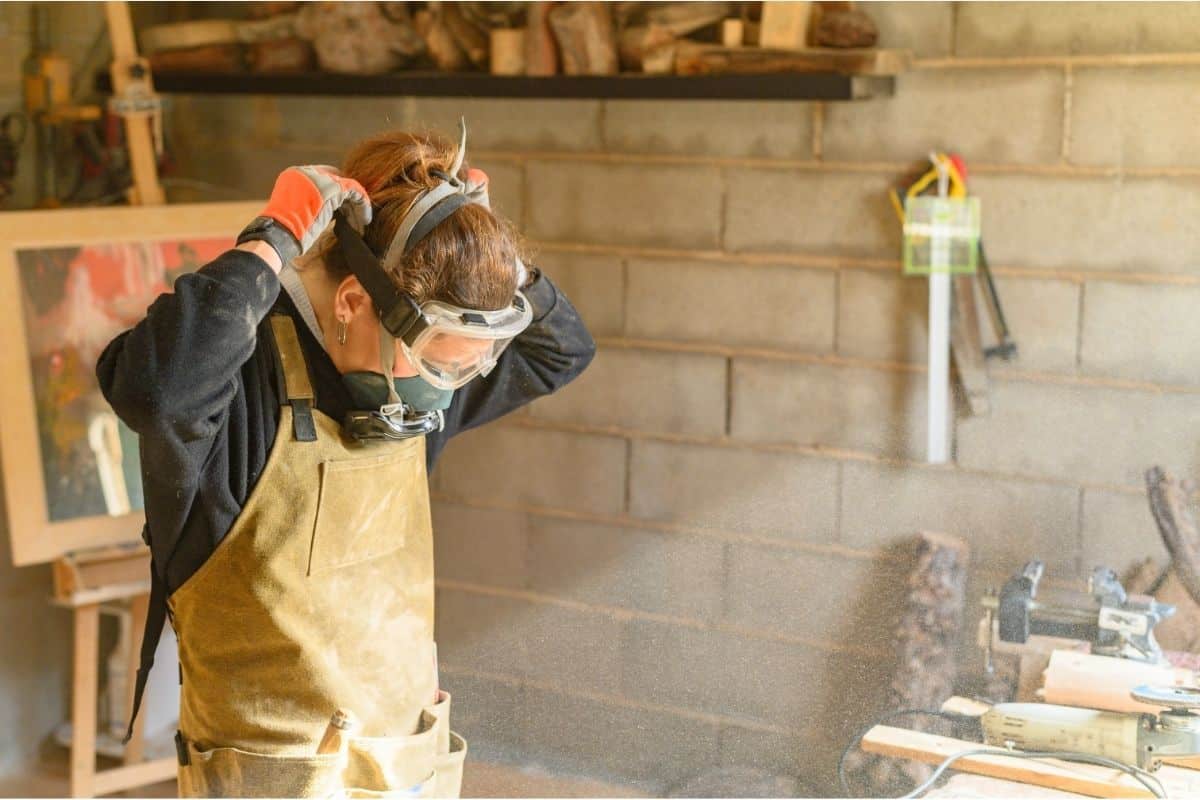
Do not neglect the use of protective equipment. Goggles (or a face shield), respirators, and hearing protection should be worn when operating power saws.
Properly picked accessories do not interfere with your work with materials and reliably protect you from the hazardous effects of wood dust and other harmful particles. Always wear them, even if you do not plan to work in the workshop for a long time.
Safety measures
Any power tools pose a certain danger to a user, and therefore you should be especially careful in your work and adhere to the general miter saw safety measures:
- make sure that your instrument is on a level surface and does not wobble;
- your position should also be stable;
- remove all foreign objects from the work surface;
- do not put your hands too close to a disc or on slide rails;
- choose the right miter saw blades depending on the materials you work with;
- do not try to cut several boards at once in one go;
- if you need to make any adjustments, turn off the saw first.
It is also recommended to use clamps to secure material to the table whenever possible. If this is not possible, press a workpiece with your hands to the work surface; however, make sure that your fingers are not too close to the insertion point of the instrument.
Tools and materials
As part of the preparation process, I also recommend putting all the accessories that you will need in advance:
- measuring tape (digital or classic);
- angle gauge;
- pencil;
- sandpaper (optional);
- baseboard molding;
- miter saw (compound or original).
Don’t forget about the protective equipment I listed above as well, and you can move on to cutting your workpieces.
Step by Step Guide on Cutting Baseboard With a Miter Saw
In this block, I will go into detail on how to miter cut baseboard like a pro. Take all the tools and equipment prepared and follow my manual.
Step 1: Measurements and markings
When performing large amounts of work, it is easy to make mistakes and cut boards in the wrong directions. Therefore, perform all tasks in stages and do not try to process pieces for the whole house in one session.
First, measure the length of a wall along which you will lay the first molding, and make a corresponding mark with a pencil on the material for a straight or miter cut.
In an ideal world, walls in any room converge at right angles. Then all the boards would have to be cut straight or at an angle of 45 degrees. In reality, unfortunately, there are deviations due to imperfectly even walls.
There are also rooms of non-standard configuration. I recommend using an angle gauge to measure and calculate all the necessary parameters. So you will know for sure that the workpieces you have processed will fit exactly to the surface of the walls, floor, and each other in the corners.

Step 2: Setting up the tool
In modern models of miter saws, you can change the angle of a blade as you need. If you have straight walls, set 90 degrees for straight and 45 degrees for miter cuts for baseboards. However, you can make small adjustments, such as choosing a 44-degree angle, if your walls don’t meet at perfectly even angles.
As an experienced woodworker, I recommend using an angle gauge. If you do not have such a tool, you can take two short pieces cut at a 45 degree angle and attach them to the corner. If they diverge on the outside, the angle should be slightly reduced; if on the inside, increased.
Step 3: Start cutting
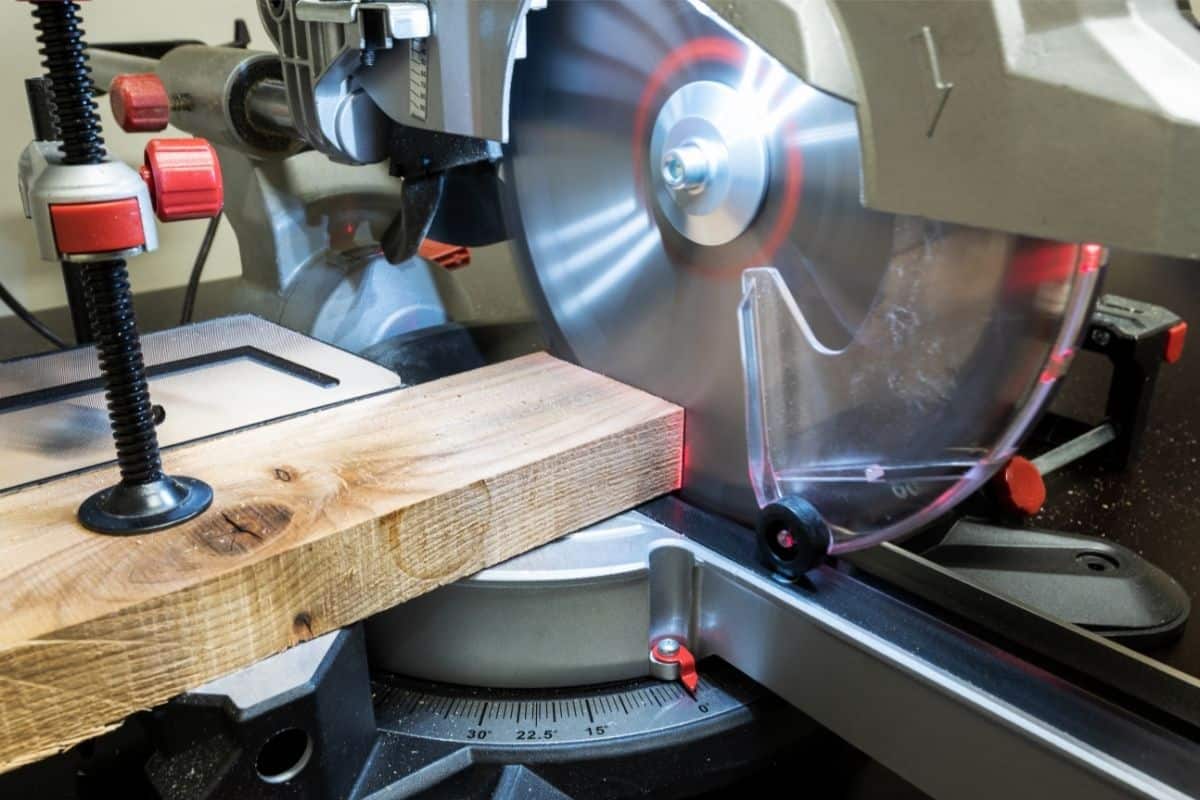
Put on protective equipment and lay the molding on the work surface so that its back is firmly in contact with the vertical saw fence. Don’t run the tool right away. Lower its head down first to ensure the blade is exactly on your marks.
If your model has clamps, fix the workpiece with them; if not, hold it securely with your free hand. Start the saw and slowly but firmly lower the disk onto the baseboard.
If you cut plastic, there is a chance that it will melt a little in the process. In this case, take sandpaper and trim burrs. You can also use a regular knife for it. After cooling, melted plastic is cleaned off without much difficulty, even with bare hands.
Step 4: Testing
After cutting, you should place the boards along the walls to see how tightly all the parts fit together. If you find a visible gap, lightly trim the corner of one of the pieces. As a rule, it is not necessary to trim both workpieces; it is enough to cut one so that the second also lies flat.
When you have two or three parts ready, you can install them. Work all the material in this way, changing the saw head tilt depending on the corner (inside or outside) for which you process the baseboard.
Cutting Baseboards With Miter Saw FAQ
As you can see, there is nothing complicated in the processing of cutting baseboards. But if you still have questions, you will find answers to some of them in this block.
Do I lay down a baseboard or stand it up when doing a miter cut?
Professional carpenters recommend cutting moldings vertically, pressing them firmly against the saw fence. With this arrangement, you can think of the work surface as a floor and be sure that boards fit into the interior just the way you need them.
What size miter saw do I need to cut a 6-inch baseboard?
You should use 10- or 12-inch tools to position the workpiece on the surface properly. They are high enough so that you can set the workpiece vertically. If you have an 8.5-inch device, the boards will have to be laid flat.
How to cut a baseboard without a miter saw?
A miter saw is a perfect tool for cutting baseboards. However, if you don’t have one, you can use a cheaper miter box, and any hand saw. Circular saws or jigsaws are also suitable for it.
Also read:
- 7 Best Cordless Miter Saws
- 7 Best Affordable Miter Saws
- 7 Best Compact Miter Saws
- Can a 10 Inch Miter Saw Cut a 4×4
- Sliding vs Non Sliding Miter Saw
- How to Cut Crown Molding With a Miter Saw
- How to Change a Miter Saw Blade
- How to Unlock Miter Saw
- What Size Miter Saw Do I Need
- 10 vs 12 Miter Saw
- Radial Arm Saw vs Miter Saw
- Single Bevel vs Double Bevel Miter Saw
Cut Baseboards Like a Pro
Now you know how to cut baseboard corners with miter saw like an experienced carpenter. Since molding is a standard part of the interior, you should be able to work with it professionally and streamline the process.
A little practice on scrap trimmings, and you’ll be fine. If something remains unclear, feel free to ask me your questions in the comments. And if you are an experienced craftsman, please share your secrets of processing baseboards. What are the stages of your work? What size saw do you use for it?
“A good tool stays with you for many years and choosing carefully ensures the job is done right, your work is neat, and the tool is always a pleasure to use”


